
Organising a Side-by-Side Refrigerator
The Cliffs Notes on Getting it Right
- With some clever zoning, a side-by-side fridge can hold a week’s worth of groceries for a family of four – that is, if you use the space wisely.\
- Start with a deep clean, sort out the door zones, shelf zones, drawer zones and freezer zone – and then make maintenance a breeze with a quick weekly tidy.\
- Typically, the best use for the doors is condiments and drinks, the middle shelves for the daily essentials, the drawers for produce and deli meats, and the freezer side sorted into neat vertical bins.\
- Remember to leave a bit of space around the vents (especially in the middle back of both sides) to keep that cooler working efficiently.\
- This whole process takes about 60–90 minutes, but it pays off big time: meal prep gets faster, food waste goes down and putting groceries away is a breeze.
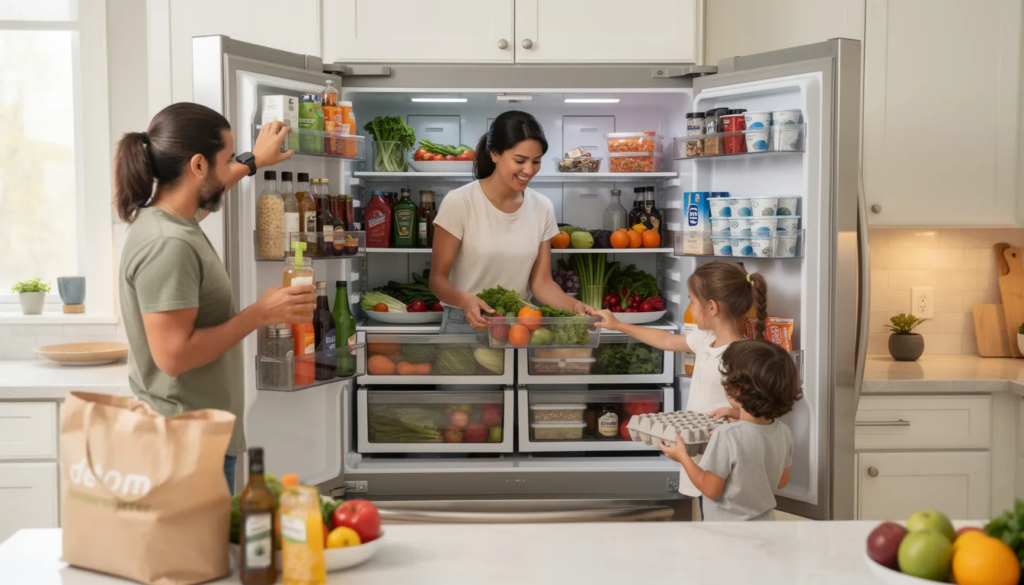
Getting Started
A side-by-side fridge’s vertical layout can be a real blessing – but also a curse. You’ve got all your food at eye level, but those narrow shelves can be a real pain in the neck.
If you’re the owner of a side-by-side fridge, you’ve probably struggled with stuff like frozen pizzas that won’t even fit flat, tall bottles getting knocked over, leftovers getting buried under a sea of condiments, and ice building up in a freezer full of clutter. The narrow compartments can turn grocery shopping into a puzzle where nothing quite fits.
This guide is designed to give you a step-by-step system to get your side-by-side fridge in order in no more than 60–90 minutes. You’ll learn how to zone each area so food stays fresh longer and become a pro at storing items where they belong. The payoff is real: faster meal prep on busy weeknights, less food waste, easier grocery put-away and a fridge that stays cooler for longer.
Step 1: Give the Fridge and Freezer a Good Cleaning
Before you can even think about organising, you need to give the whole thing a deep clean. That involves removing every last bit of spill, odour, and grime that’s accumulated over time.
- Pick a specific time – Sunday mornings are a good bet – and plan on doing this every 3-6 months, depending on how often you cook.\
- Grab a cooler with some ice packs and move all the food in there while you do the cleaning.\
- Unplug the fridge or switch it to ‘power cool’ or ‘vacation’ mode if you’ve got a newer model.\
- Remove every single shelf, bin and drawer and take out all the removable bits so you can get to the back of the fridge and freezer.\
- Wash each one in warm water with a bit of mild detergent, and a soft cloth or sponge – no harsh chemical-based cleaners that can scratch the surfaces.\
- If you’ve got any stuck-on spills or stains on the interior walls, a 1:1 mix of white vinegar and water or a baking soda paste will do the trick.\
- Dry everything thoroughly before putting it all back together again – especially the freezer side – to stop ice and mildew building up.\
- Take a look at the door seals, air vents and the bit under the glass shelves where crumbs tend to collect. Clean them out while you’re in there.
This deep clean will get rid of all the yucky residue that can affect how your food tastes and gives you a chance to get rid of any expired items before you start organising a Side-by-Side Refrigerator.
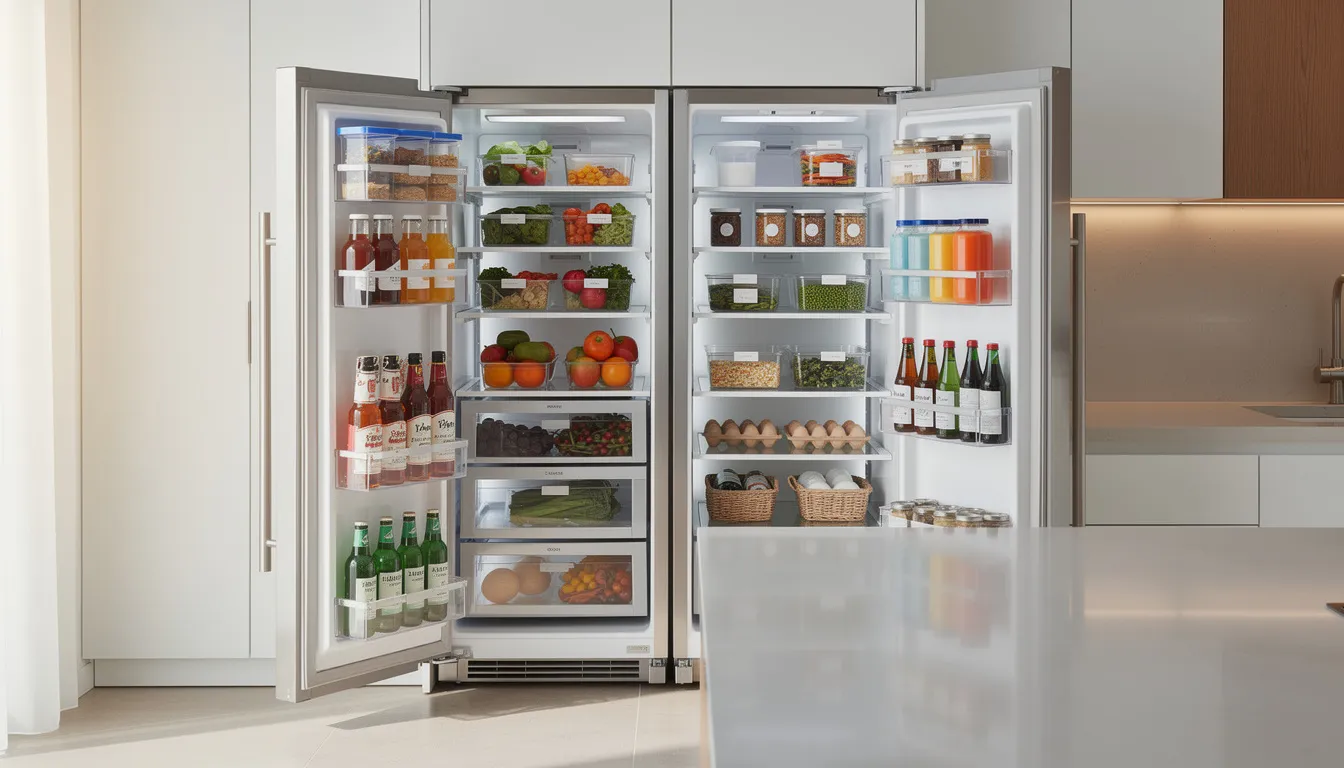
Step 2: Work Out Your Fridge Zones
Side-by-side fridges tend to cool unevenly – the lower back area is a bit cooler, while the doors and top shelves are a bit warmer. Understanding that will help you put your food in the right place to keep it safe and fresh.
Zone – Location – Best for – Temperature
Top shelves – Upper bit – Ready-to-eat, leftovers – 3-5°C
Middle shelves – Eye level – Dairy, daily foods – 2-4°C
Lower shelves – Bottom bit – Raw meat, coldest stuff – 1-3°C
Drawers – Below shelves – Produce and deli – varies by humidity
Doors – Both – Condiments, drinks, preservative-heavy stuff – 4-5°C
- Sketch out a rough map or snap a photo with your phone once you’ve decided on your zones so you can refer back to it when you’re putting the groceries away.\
- Adjust the shelves so that they fit the items you actually buy on a regular basis – rather than sticking with the factory settings.#5 Organising the Fridge Doors
The door bins on your fridge are the warmest part – which isn’t all bad news. They’re perfect for keeping items like pickled things, sauces and condiments, or other long-life foods that are either salty, sugary, or packed full of preservatives.
- Top door bins are ideal for storing the smaller bottles you buy – mustard, hot sauce, jam and speciality dressings – where they’re easy to spot.
- The middle bins are for the stuff you use every day: ketchup, mayo, BBQ sauce, coffee creamer and the kids’ favourite squeeze bottles.
- The bottom bin – or the big one if you’re lucky enough to have a gallon bin – is best for the big drinks like 1-gallon milk, juice cartons, and 2-litre bottles of fizzy pop.
- Give the door bins a label – something simple like ‘Sauces’ or ‘Salad Dressings’ will do – to help everyone keep things straight.
- Use the butter compartments with lids for butter, spreadable cheese, and yeast packets – the things you use all the time but don’t go off quickly.
Organising the Fridge Shelves
The shelves in your fridge are where you’ll be storing the stuff you use all the time, as well as anything that’ll go off if it gets too warm.
- Top shelf: put leftovers in clear containers ( the smaller ones work best), salads that are ready to go, and snacks – try and group them all together so it’s easy to see what you’ve got.
- Eye-level shelves: this is where you’ll keep your high-use items like yogurt, hummus, sliced cheese, and all the bits and bobs for making lunch – at a height you can grab easily.
- Keep your milk and eggs in the coldest bit – either the back of a middle shelf or near the freezer wall. Don’t leave them on the door where it gets warmer.
- Raw meat, seafood, and poultry need to live on a tray or a bit of a bin to catch any drips and stop things getting all sick-making (48 million food poisoning cases in the US each year…no thanks)
- Group similar things together – so you’ve got ‘Breakfast’, ‘Lunch’, ‘Snacks’, or ‘Cooking Sauces’ all on one shelf if you can.
- Leave a bit of space near the vents to help the air circulate – it’s especially important in the new fancy fridges that are all energy-efficient.
Sort and Set the Fridge Drawers
Nearly all side-by-side fridges come with drawers for crisping up your veggies and keeping cheese and meat fresh.
- The high-humidity drawer: for all leafy greens, herbs, berries and fruits that need to stay nice and fresh – the high humidity can keep them going for 50% longer.
- The low-humidity drawer: for the thicker-skinned things like apples, oranges and cucumbers.
- The deli drawer: for sliced meats, cheese and the like – it’s also a good place to keep tortillas and pita bread to keep them from getting all dry and crumbly.
- Throw some paper towels in the drawers to catch any extra moisture and make cleaning up a bit easier.
- Keep the fruits and veggies that make a lot of ethylene gas (like apples and pears) away from the ones that don’t (like berries and lettuce), or they’ll go off in no time.
Step 4: Organise the Freezer Side for Vertical Storage
Your freezer is a bit of a tricky beast – but it’s actually a lot easier to keep it all organised if you use a bit of vertical storage.
- Group your frozen stuff by category: veg, fruit, meat, seafood, prepared meals, bread, and snacks.
- Use the narrow bins to keep frozen veggies, fruit and the like all tidy and in order.
- Upper freezer shelves: for the things you use most often – frozen veggies, berries for smoothies, and weeknight meals.
- Middle shelves: for things like frozen meat and fish – lay them flat and label them with the date so you can see which is which.
- Lower shelves or baskets: for the bigger items like whole chickens, roasts, and bulk bags of fries.
- The door shelves are for the items that won’t mind a bit of temperature swing – nuts, seeds, ice packs, the odd bag of frozen fruit.
- Don’t overfill the freezer – leave a bit of space around the vents so it can all stay nice and chilly.
- Use a date-based system: newer items go behind or below the older ones, and if it’s not obvious what something is, just slap a label on it with some temporary marker.
- Place shallow trays or lipped baking sheets under raw meat and marinated things to catch drips and keep the lower shelves tidy.
- Turntables, aka lazy susans, are good for deep top shelves or awkward corners where you’ve got small jars and sauces to store – but personally, I’d avoid them for heavy glass bottles.
- Stackable egg holders do make sense if you’re buying more than a dozen eggs a week – but if not, then just use the regular carton, it’s fine.
- When freezing meat and leftovers, use vacuum-seal bags or flat resealable freezer bags, and you’ll find you’ve got loads more space in the freezer – simply freeze in a single layer on a sheet pan first.
- You’ll get loads more out of your storage space if you stick to using square or rectangular containers instead of weird shapes – tidy stacks and all that.
- And just remember to keep any accessories out of the way so they don’t block vents, temperature sensors or light fixtures.
Step 6: Build Some Simple Habits To Keep It Tidy
You can’t keep a fridge organised just once; you’ve got to keep it as a regular thing. These simple routines will keep the chaos at bay and help prevent food waste over time.
- Do a quick “fridge reset” for 5-10 minutes before each grocery trip: chuck out anything that’s gone off, sort things into categories, wipe any obvious spills and so on.
- Set aside a bit of time each month to do a “freezer audit” – check the dates on everything, move the older stuff to the front and plan a couple of meals around what you need to eat.
- Teach the rest of the family to put things back in their place – especially the kids with their snacks and lunch stuff – and get them to label the shelves or bins so they know where everything goes.
- Take a snap of the fridge when it’s all tidy so you can use it as a reference when things get messy again.
- I’d say these simple habits will save you loads of time on busy weeknights and help you eat things before they go off – reducing household food waste by up to 20% or whatever the stats say.

Extra Tips and Ideas For Side by Side Fridge Organisation
There are a few other ideas you can use to make your fridge organisation even more effective.
- Create a bin for “tonight/this week” on a middle shelf for the stuff you’re planning on cooking with next.
- Get a whiteboard or some other list thing on the side of the fridge where people can add the things they’re running low on.
- If you’ve got kids, set aside a shelf or bin for their snacks, water bottles and all that sort of thing.
- You might want to think about adjusting your storage as the seasons change – more space for produce in summer and so on.
- Use a thermometer every now and then to make sure all the zones are within the right temperature range – about 3-5°C for the fridge and -18°C for the freezer.
- Keep non-produce stuff like butter and coffee beans in the same spot so you don’t have to go hunting for them.
FAQ
How do I fit a big pizza or party platter in a narrow side-by-side freezer?
You can’t fit a full pizza box flat in most side-by-side freezers, so you’ve got to take the pizza out of its box and store it in a labelled bag or wrapped in foil – it’ll save some space, and you can get the box out of the way.
Where do I store raw meat and poultry?
Raw meat, poultry and fish should be stored at the bottom of the fridge or in a dedicated meat drawer to stop it dripping on everything else – just make sure you use a tray or bin to catch it and don’t put it near the good stuff.
How often do I need to give my side-by-side fridge a complete overhaul?
Do a big deep clean and reorganisation every 3-6 months, depending on how big your household is and how much cooking you do – weekly mini cleanouts and monthly freezer audits will keep things running smoothly otherwise.
What do I do if my side-by-side fridge is too full and not cooling properly?
You need to get some air circulating – take out some of the rarely used stuff, check that nothing is blocking the vents or back wall and have a bit of a tidy up.
