

Replacing a light bulb in your Maytag refrigerator might seem like a simple task. Still, it is crucial to ensure that it is done correctly so that your appliance remains in good working order and that your fridge stays well-lit and functional. Whether you need to replace a burnt-out bulb or want to learn how to do this maintenance step on your own, this guide provides clear, step-by-step instructions to help you safely and effectively change the light bulb in your Maytag refrigerator.
Reasons Why My Maytag Refrigerator Light Bulb is Off?
Likely, your Maytag refrigerator light is off due to a faulty bulb or LED assembly, a misaligned door switch, or loose or damaged wiring. To fix the issue:
Check for Sabbath Mode
Some Maytag refrigerators have a Sabbath mode that turns off the interior light and controls. Refer to your owner’s manual to exit this mode and restore regular operation.
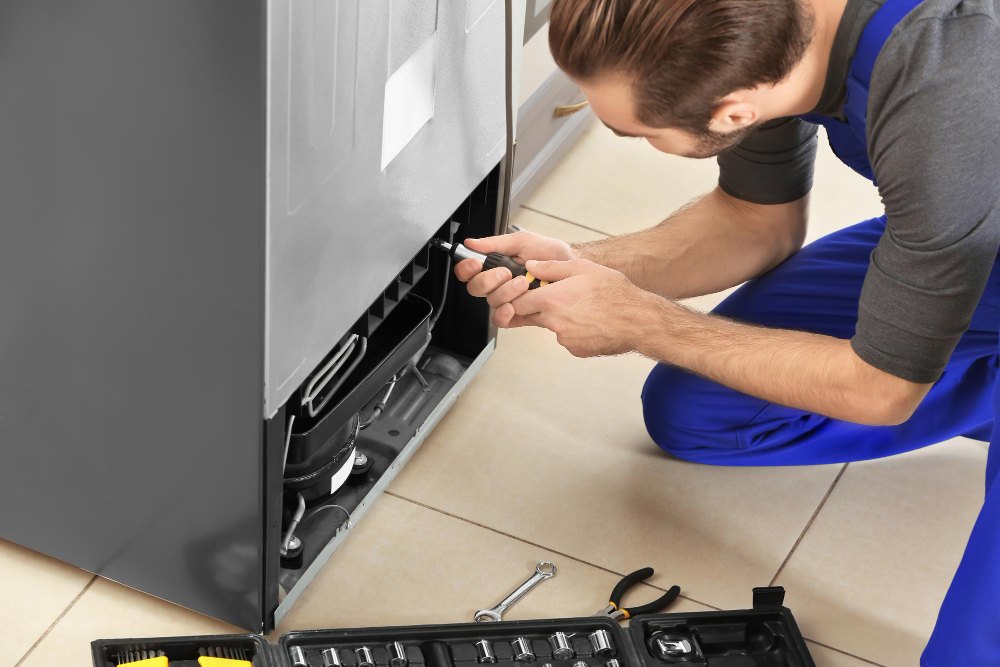
Inspect the Light Assembly
Loose Bulb: Turn off the refrigerator and verify whether the bulb is loose or improperly tightened. Secure it firmly for a good connection.
Burned-Out Bulb/LED: Replace any loose or burned-out bulbs with the correct type and wattage. If your refrigerator uses an LED assembly, it may be defective and need replacement if you notice burn marks or damage.
Test the Door Switch
Sticky or Misaligned Switch: The door switch activates the interior light when the door opens. Manually press the switch to check if it’s stuck or not engaging properly.
Faulty Switch: If pressing the switch doesn’t turn on the light, the switch might be defective. Test for continuity with a multimeter; if it shows infinite resistance, you should replace it.
Examine the Wiring and Socket
Loose Connections: Ensure the wiring harness is securely connected, especially if the refrigerator has been moved recently.
Damaged Socket: Check the light socket for damage, discolouration, or loose wires. Replace if damaged.
Check the Control Board
If all other components seem fine, a malfunctioning electronic control board or power supply could be the problem. Professional diagnosis and repair may be necessary to resolve this issue.
Step-By-Step Guide to Replacing a Maytag Refrigerator Light Bulb
Disconnect Power: Unplug the refrigerator’s power cord from the electrical outlet to ensure your safety before starting any maintenance work.
Locate Light Cover: Open the refrigerator door and carefully find the light cover inside the fresh food compartment, usually near the top or side panel.
Remove Light Cover: The cover may snap off with a gentle push or slide out towards the back of the refrigerator. If it’s stuck, use a flat-head screwdriver or a plastic pry tool to gently pry it open, taking care not to damage the cover or surrounding surfaces.
Remove Old Bulb: Carefully grip the old light bulb and twist it counterclockwise to unscrew it from the socket. Be cautious, as the bulb might be hot or fragile.
Install New Bulb: Take a new light bulb that matches the original in size, shape, and wattage. Insert the base into the socket and turn clockwise until it is firmly secured.
Reinstall Cover: Place the light cover back into its original position by snapping or sliding it into place. Make sure it is securely fitted to prevent rattling or falling off.
Restore Power: Reconnect the refrigerator’s power cord to the electrical supply outlet.
Test Light: Open the refrigerator door and check if the new bulb lights up properly, verifying successful installation.

Conclusion
Replacing the light bulb in your Maytag refrigerator is a straightforward process that can be easily accomplished by following the necessary safety precautions and steps outlined above. Ensuring the appliance is unplugged before beginning work helps prevent electrical hazards. Remember to select the correct replacement bulb compatible with your model for optimal performance. Regular maintenance, including replacing the light bulb when it burns out, not only helps in maintaining the appliance’s efficiency but also ensures proper illumination for ease of use. By following these simple instructions, you can save time and avoid costly service calls, keeping your refrigerator functioning smoothly and efficiently.
